How To Use The Free Rooms Templates
By
14:48:00
As part of the celebrations for Second Life's 19th birthday, exhibitors were able to offer gifts to visitors, and whilst I had some windchimes to give away, I wasn't able to complete in time the gift I originally intended to offer. Not to be deterred, the gift of a copy of the build that formed my exhibit is now available.
To be clear, what is available is the build of the rooms themselves, rather than the content. I've called them templates because they are effectively blank canvases for anyone to use to create their own unique builds, as well as their own unique 360 degree imagery.
Grab your Free copy of the Rooms Templates from the Marketplace here.
What Are The Rooms Templates?
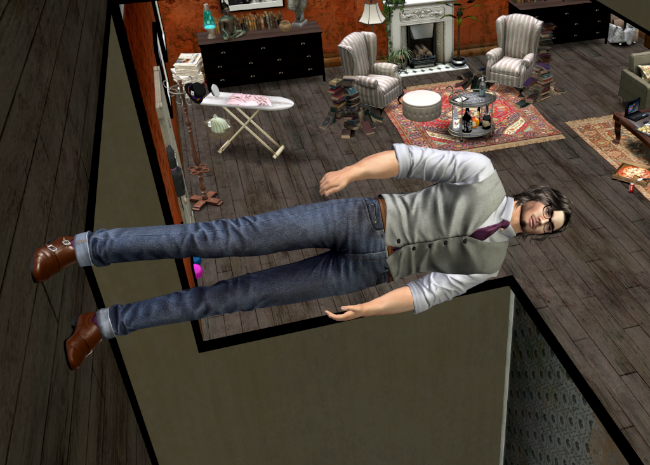
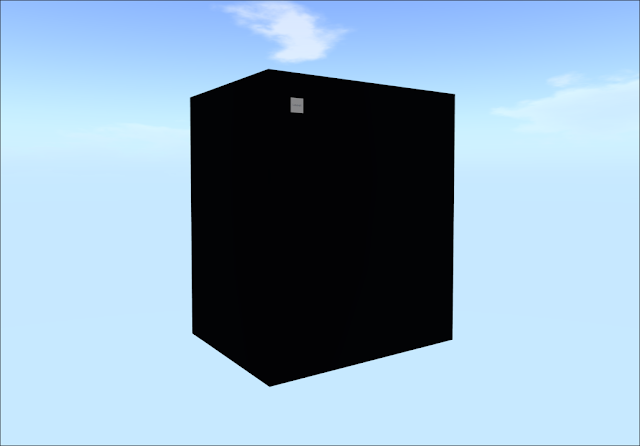
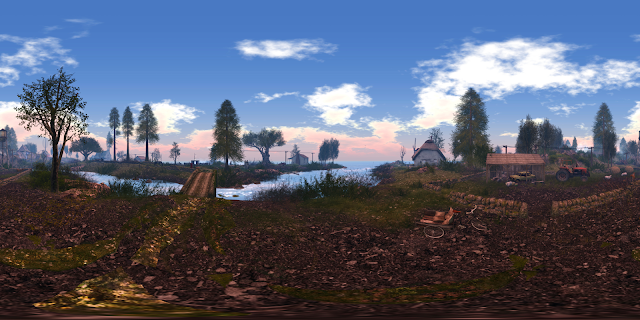
'Rooms' is a project I've been working on for a while, and consists of three rooms contained inside a black cube. Each room interlocks with the next with the intention of making the viewer/visitor question the space they're in, and by extention the nature of 3D virtual space. This 360 panorama is the end result.
The starting point for the project was to create something that would make 360 degree panoramas in Second Life that had an unexpected feel. The possibility that the rooms might be an interesting place to visit and interect with developed from this.
From that point it also occured to me that since everyone's imagination works in different ways then everyone would construct something different using these rooms. For instance, take a look at this 360 panorama and how it uses space in a similar way, but looks very different. The idea therefore came to be to offer the rooms as templates for people to develop in any direction their creativity took them, in the hope they would create their own amazing 360 degree panoramas, and possibly allow others to visit their builds in Second Life.
To find out more about Rooms at SL19B, take a look this blog post.
What Is Included With The Rooms Templates?
When you recieve this item from the Second Life Marketplace it will contain:
- Land Footprint
- Rooms Template Rezzer. This is the red box with an arrow on top. This will rez the rooms with windows and views outside of them.
- Rooms Template Rezzer No Windows. This is the orange box with an arrow on top. This will rez a version of the rooms that has no windows.
- Rooms Buttons a. These buttons control the views outside the middle room.
- Rooms Buttons b. These buttons control the views outside the lower room.
- Rooms Buttons c. These buttons control the views outside the upper room.
The idea of having two versions of the room templates is to add more options for what can be created with them.
Both versions of the rooms are big. The version with windows has a footprint of about 30m x 24m, (and a prim count of 43), whilst the other is around 24m x 23m (with a prim count of 27). Because of this large size, and to help with placement on a parcel, a footprint object has been included, as can be seen above. The purple area shows the footprint of the smaller template, whilst both the purple and green areas together show the footprint of the template with windows.
As well as being important in positioning the rooms in relation to a land parcel, the footprint object is also used to accurately rez the rooms at height, as we'll see in a moment.
Rez Boxes
The footprint object includes a red square with an arrow, and an orange square with an arrow.
Place the red rezzer box on top of the red square so both arrows are aligned. Now the rooms with windows will rez exactly where the footprint is.
Placing the orange rezzer box over the orange square of the footprint and making sure both arrows are aligned will ensure the rooms without windows will rez precisely over the purple area of the footprint.
Using The Rezz Boxes
Although the rooms can be rezzed on the ground, they are intended as skyboxes. To rez one of the rooms templates, follow these simple steps.
1/ Rez the footprint object on the ground and place it where you want the rooms to be placed. Get close to the grey box and sit on it.
2/ Right click on the footprint object and from the menu click Edit, so the Edit Window opens. Make the Object tab the active tab.
The area highlighted in red in the Edit Window is what we're interested in. We'll use it to edit the Z position of the footprint object. (For those that may not know Z is the up/down co-ordinate in virtual space, so we're about to change the height of the footprint object).
3/ Enter how high you want the rooms template to be from the ground. Here 1000 was added. When you're ready hit Enter on the keyboard, and the footprint object will be repositioned 1000m in the sky.
Because you sat on part of the footprint object you'll also be transported to 1000m in the sky.
Once the footprint object is in the sky you can stand up.
4/ Position one of the rez boxes over the corresponding coloured square on the footprint. Then left click on the rez box.
5/ This window will appear. To rez the rooms hit the Rezz button.
6/ The rooms are now rezzed. As you can see there aren't any textures on the walls or ceilings of the rooms (although there are floor textures). This is so you can start with the blank canvas that was mentioned earlier.
Its also important to note that you'll be standing in one of the rooms after they have rezzed. This is because there is no way in or out of the build, so being inside after rezzing means you can set a landmark and easily access the rooms.
7/ Left click the rez box again and this menu will appear. if you're happy with the position of the rooms, hit the Freeze button to remove the rez script from the rooms.
If you want to remove the rooms, hit the Remove button.
8/ The rooms template is now rezzed, so you can delete the rez box as well as the footprint object. Remember to landmark a position within the rooms template so you can access it again.
Using the Window Buttons
The final items included with the room templates are the window buttons. There is a set for each room. The red button allows you to select the scene, and the blue button enables it to scroll.
Each set of buttons has a slightly different name. 'Rooms Buttons a' should be rezzed in the room you'll be standing in after removing the footprint and rez box. 'Rooms Buttons b' belongs in the lower room, and 'Rooms Buttons c' belongs in the upper room.
Unfortunately I could not include the scripts for the buttons and scenes with mod permissions because they're commerical scripts that I didn't create. If you'd like to use your own scenes, simply delete the scripts in the buttons and the scene viewer and add your own. I'll try to find a better option asap.
You're now ready to start using these rooms templates for your own creations. If you'd also like to use them to create 360 degree images, then these tutorials will be very useful. I should add that stitching images of the rooms into 360 panoramas can be tricky. Sometimes it works first time, other times there can be a lot of trial and error to get it right. The tutorials mentioned above suggest using a setting of between 60 - 90 for the HFOV in Hugin. In the case of the 360 panorama created from these rooms, 85 was used. In other panoramas, 100 was a good setting.
Wall Walker
Once you've created your build using these templates, try exploring it with a wall walker. The above video is a little rough around the edges, but gives an idea of how the wall walker works.
There are a number of versions of wall walkers on the Marketplace, but they're all based on the original, which is open source. Therefore decide for yourself whether you want to pay for one or grab the freebie.
The original wall walker comes with some unappealling walk, stand and run animations, but its easy to replace them with your own.
If you haven't seen a 360 degree panorama created using these rooms, take a look here, and then see what you can do with your new templates.


